
February 5th, 2022


前言:
之前有想過把自己的部落格要移到 GCP 來使用,剛好有一些 credit 可以使用。 去尋找了一下如何在 GCP 上面架設 Hugo 部落格的文章。剛好看到官方有出一份使用 Cloud Run 來作為 Hugo host 的文章。 這裡先簡單的更新一下最新的介面,並且改成中文版本給大家參考看看。
其實就算跑完後,還有一些後續要用:
- 修改 DNS
- 搬移 Jekyll 到 Hugo
這些就是其他篇文章的部分。
流程:
流程大多是依照 Automatic Deployment of Hugo Sites on Firebase Hosting and Drafts on Cloud Run 來修改成中文版本。
1. 設置 Hugo 新專案
Fork GitHub 相關專案 GitHub copy (i.e. fork)
https://github.com/jamesward/hello-hugo
2. 建立 Cloud Run

- Set up with Cloud Build
- Connect to Github repository
- Reguib 記得選台灣 “asia-east1 (Taiwan)”
- 選取你 Fork 的專案
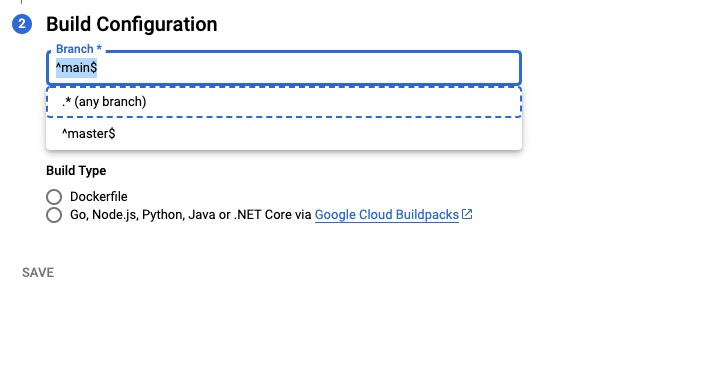
- Branch configuration –>
^master$設定是 Master branch. - Build Type 先選 -> Dockerfile 之後還要改
修改 Continuous Deployment
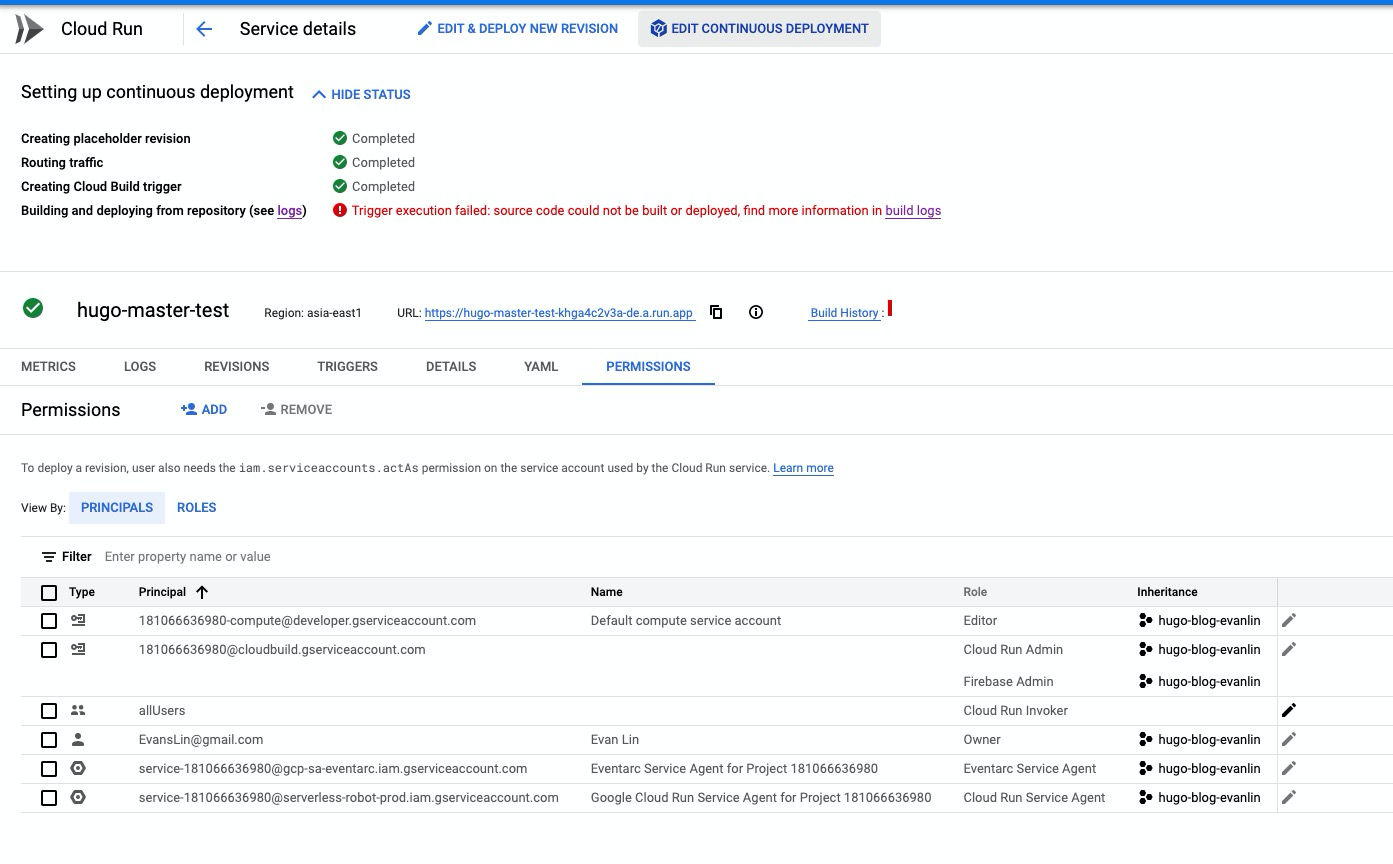
你會發現這一次是失敗的,然後點選 “Edit Deployment”

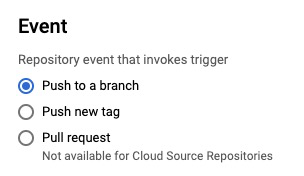
Edit Trigger - Event
-
Event
- Push to branch
Edit Trigger - Configuration
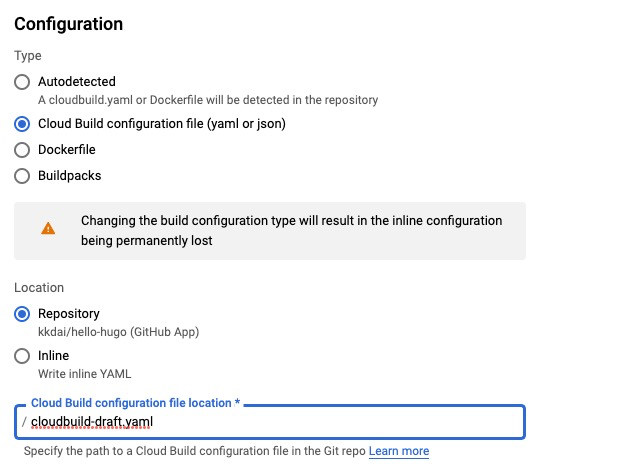
- Location –> Repository
- 記得改成檔案
cloudbuild-draft.yaml
建立 Firebase 來作為 Production / CDN’d site
To setup your production / CDN’d site, login to the firebase console
啟動後,設定好相關專案。
修改 Github 啟動專案
- 修改到台灣 region –> asia-east1 參考 commit

- 修改 Firebase Production 專案名稱(記得改成你的專案) 參考 commit

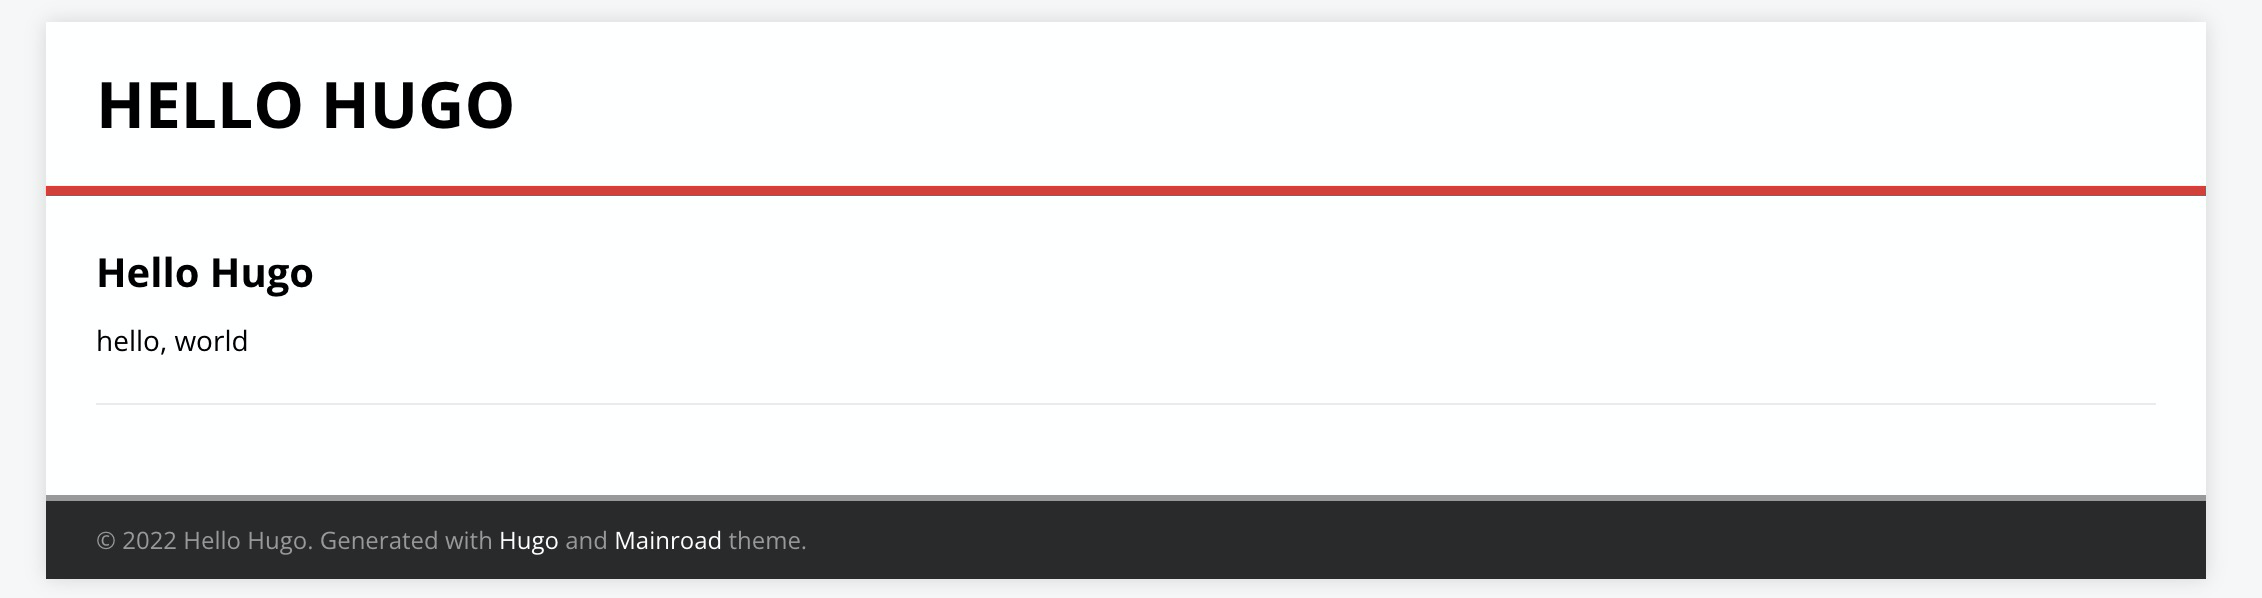
最後成品
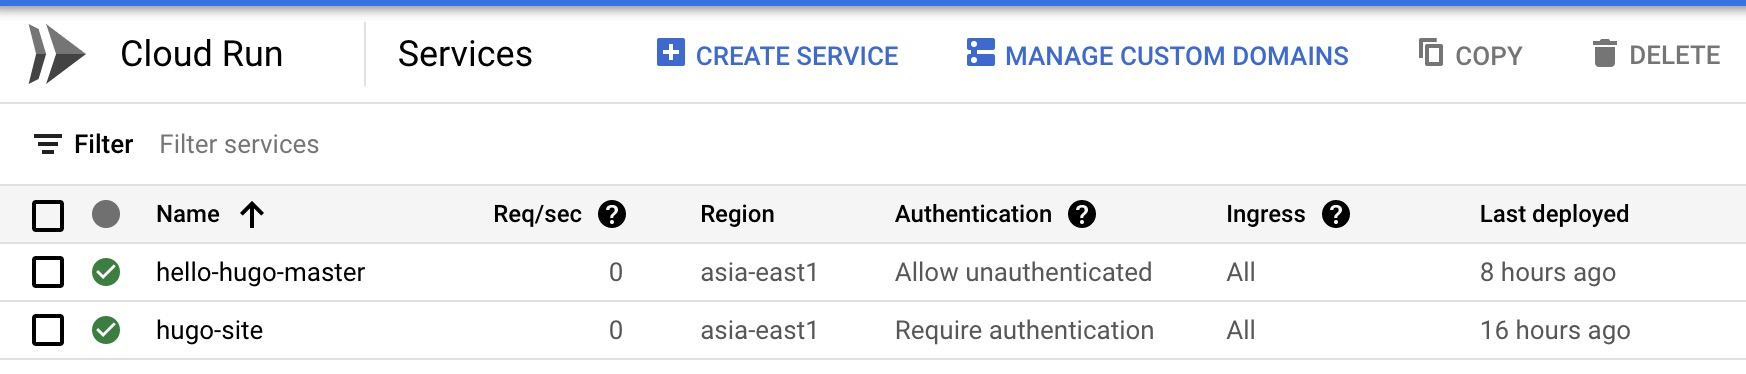
你會發現有兩個 Cloud Run ,一個是你設定的 Trigger 。 第二個 hugo-site 就是透過設定跑起來 CICD 的 Cloud Run 。
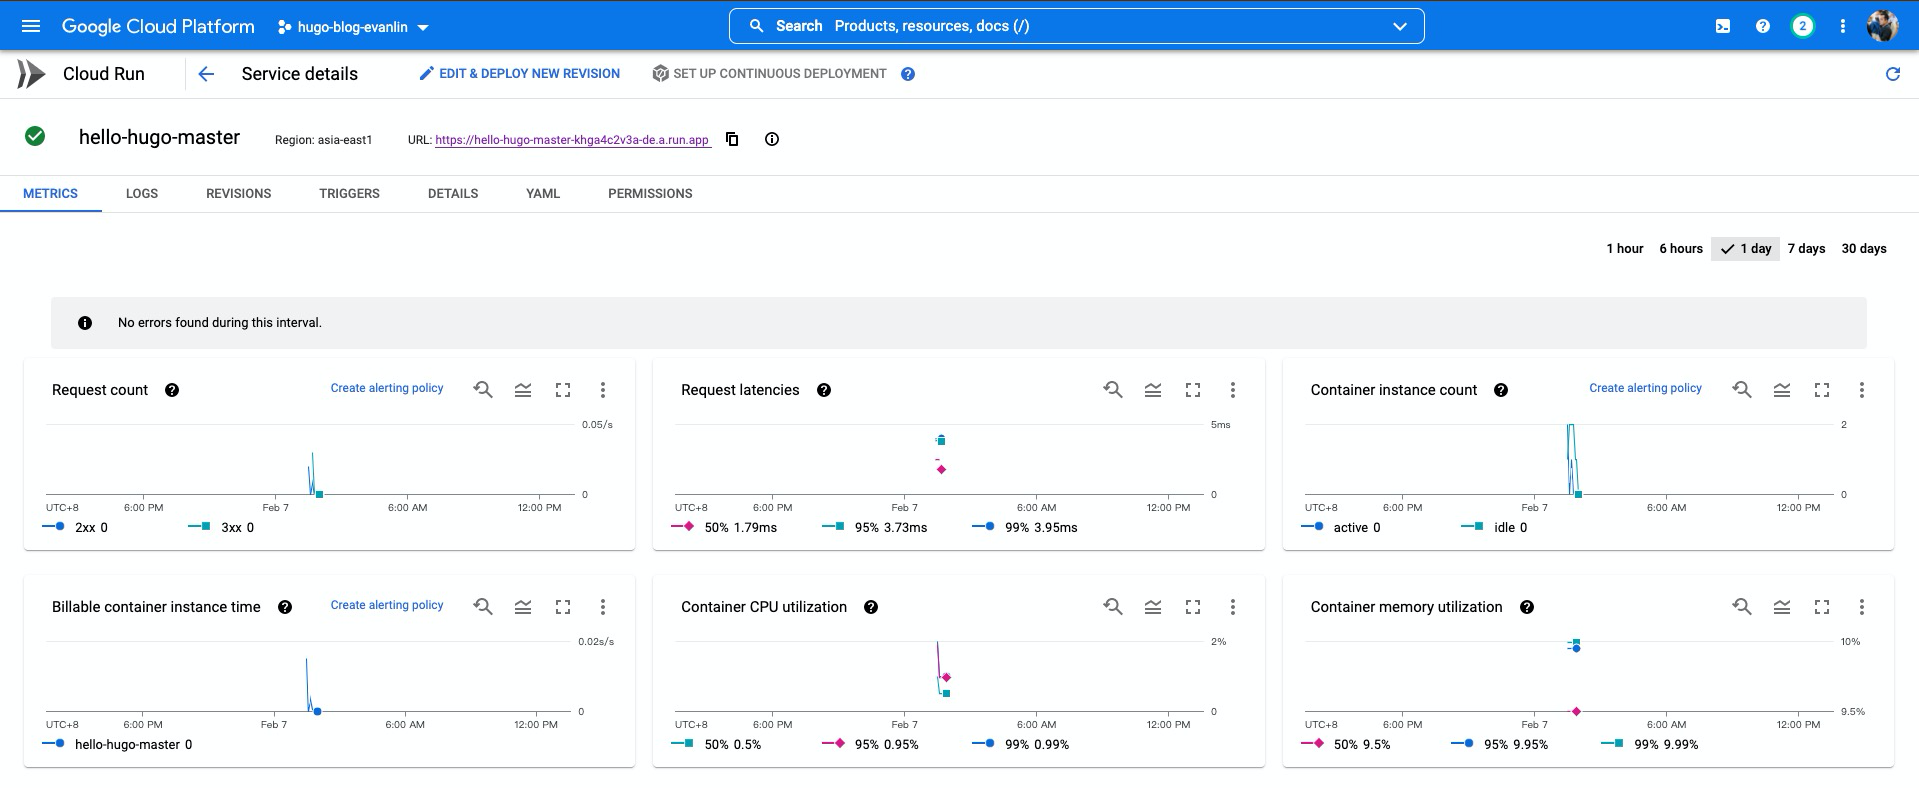
點進去之後,你會看到上面有一個完整的 URL ,就是可以對外的網址。
最後網站: https://hello-hugo-master-khga4c2v3a-de.a.run.app
相關文章: