
前提
在撰寫許多 Side Project 的時候,除了網路服務伺服器之外,最困擾的大概就是資料庫的問題。雖然之前我的文章 [學習心得][Golang] 把 Github Issue 當成資料庫來用 曾經教過透過 Github Golang API 來將簡單的一些資料放在 Github Issue 上,但是如果資料格式比較複雜的時候。可能就會需要透過類似資料庫格式的儲存體來處理。 偏偏許多線上資料庫都是算時間與用量,對於想寫一些有趣的 Side Project 卻沒有那麼友善。
本篇文章將使用 Notion Database 作為資料的儲存體,並且透過 Golang 去查詢,插入相關的資料處理。 本篇文章也會從如何設定一個 Notion Integration 開始教導,讓你透過 Golang 來操控 Notion Database 沒有任何痛苦。
本篇文章將透過: https://github.com/kkdai/linebot-smart-namecard 來說明。
關於 Notion Database
以上是一段 Notion 官方教學影片 Notion Database 裡面有提到如何建立一個 Database ,並且有稍微解釋:
- Create -> 選擇 Database 欄位中 -> Table
使用 Notion Database 的好處:
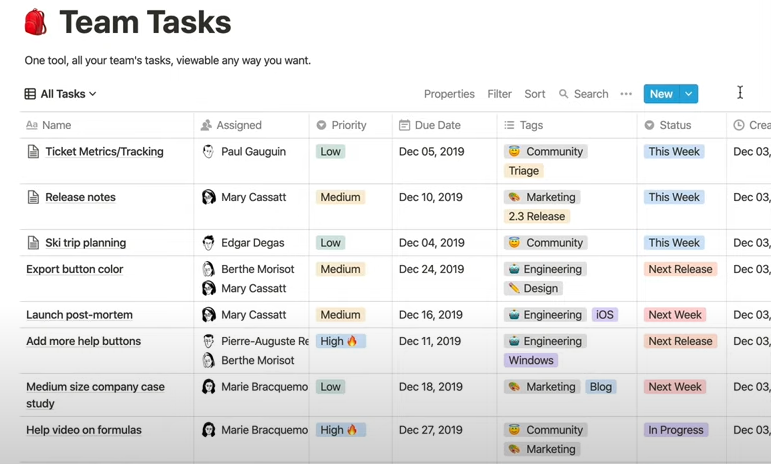
- Notion Database 支援相當豐富的格式,並且有很漂亮的視覺化介面。
- 並且 Notion Database 支援多種格式: Table, Board, Calendar, List, and Gallery
- 除了蠻方便 coding 之外,如果有後台管理員,可以透過 Notion UI 來直接查看結果。
建立 Notion Integration
可以先到 Notion Developer 建立第一個 Notion Integration :
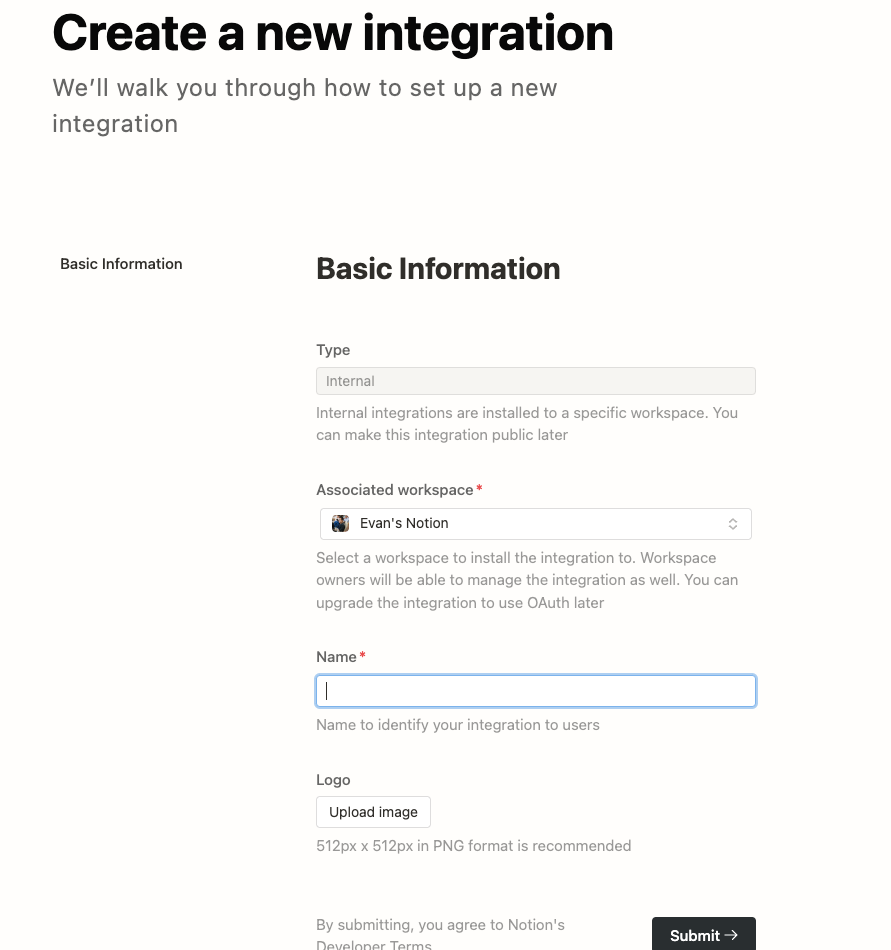
- Type: Internal 只有你可以用,其他人沒有辦法選到。
- Name: 只要可以辨識就好。
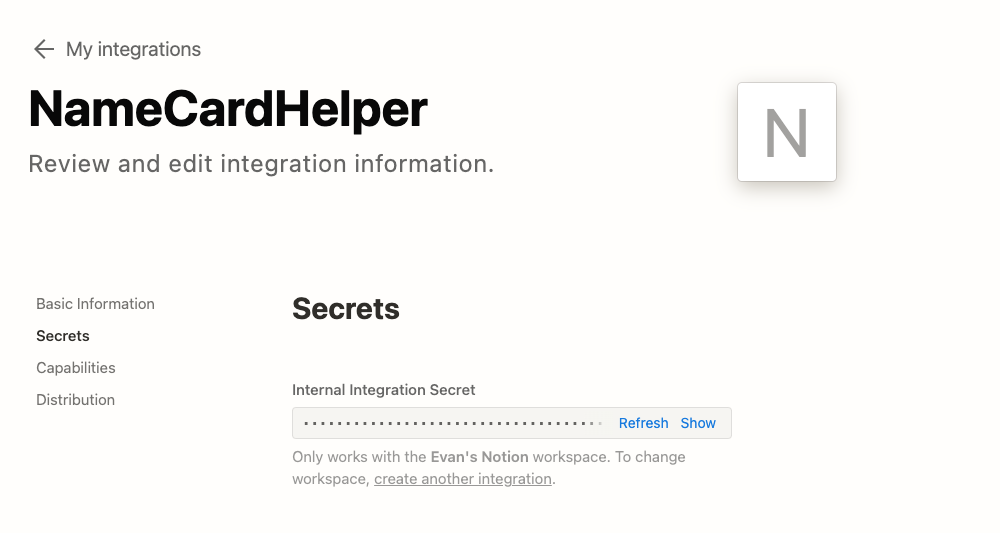
這樣就可以建立了 Integration ,並且取的 Internal Integration Secret (Notion API Key):
開啟 Notion Database 讓 Notion Integration 可以存取:
記得要讓 Notion 頁面取得 Integration 權限 ,參考以下圖片。
官方給的 GIF 檔案相當的清楚,這也是最重要的其中一步。要讓你的資料可以讓 Integration 存取。
取得 Notion Database ID
這也是一個相當重要的事情,要使用 Golang 去存取你的 Notion Database 就需要以下兩個資料:
- Notion Internal Integration Secret (API Key)
- Notion Page ID
Notion DB 的頁面網址應該是 https://www.notion.so/b764xxxxxa?v=dexxxx1 那麼 b764xxxxxa就是你的 DatabasePageId。
了解 Notion Database Data Type:
在準備要連接 Notion Database 的時候,你必須要先知道每個欄位的差別。

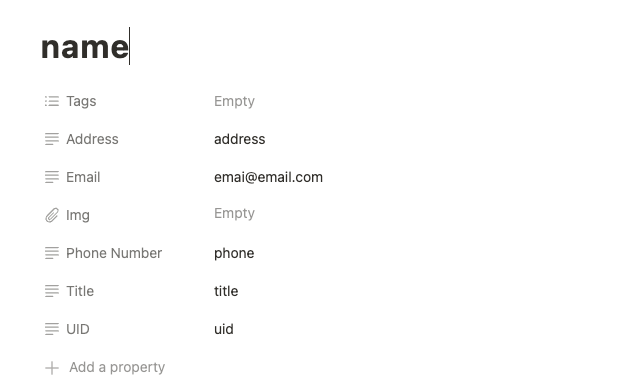
以我的資料庫為例子:
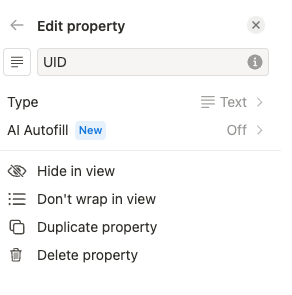
- UID: 存放 LINE OA User UID,做為辨識之用。資料格式是: Text
- 其他都是 Title, Address, Email, Phone Number 。
- Name: 使用了 Title 這個資料格式,其中差別為: Title 只能有一個欄位,並且會變成新頁面的標題。
開始撰寫 Golang Notion Database 程式碼:
這邊使用的套件是: https://github.com/jomei/notionapi
先了解資料架構
// Person 定義了 JSON 資料的結構體
type Person struct {
	Name        string `json:"name"`
	Title       string `json:"title"`
	Address     string `json:"address"`
	Email       string `json:"email"`
	PhoneNumber string `json:"phone_number"`
}

// DatabaseEntry 定義了 Notion 資料庫條目的結構體。
type NotionDB struct {
	DatabaseID string
	Token      string
}
- Person: 來自名片掃描的 JSON 資料,也代表這裡每個欄位的資料。除了 UID 是要透過參數進來的。
- NotionDB:啟動 Notion 需要知道的資料:
- Token: 就是 Notion Integration Secret
- DatabaseID: 在 URL 即可取得。 Notion DB 的頁面網址應該是
https://www.notion.so/b764xxxxxa?v=dexxxx1那麼b764xxxxxa就是你的 DatabasePageId。
首先看 Query (search)
// QueryDatabase 根據提供的屬性和值查詢 Notion 資料庫。
func (n *NotionDB) QueryDatabase(UId, property, value string) ([]Person, error) {
client := notionapi.NewClient(notionapi.Token(n.Token))
// Add UId to the filter conditions
// 建立查詢過濾條件
filter := ¬ionapi.DatabaseQueryRequest{
Filter: notionapi.AndCompoundFilter{
notionapi.PropertyFilter{
Property: property,
RichText: ¬ionapi.TextFilterCondition{
Equals: value,
},
},
notionapi.PropertyFilter{
Property: "UID",
RichText: ¬ionapi.TextFilterCondition{
Equals: UId,
},
},
},
}
// 調用 Notion API 來查詢資料庫
result, err := client.Database.Query(context.Background(), notionapi.DatabaseID(n.DatabaseID), filter)
if err != nil {
return nil, err
}
var entries []Person
for _, page := range result.Results {
entry := n.createEntryFromPage(&page)
entries = append(entries, entry)
}
return entries, nil
}
這一段需要注意的是:
- 過濾條件使用的是
AndCompoundFilter,也就是要兩個條件 A && B 。 - 其中要注意的
PropertyFilter如果資料格式不同的時候,需要處理不同資料。- Text:
TextFilterCondition - Title:
TitleFilterCondition
- Text:
- 依此類推。
再來看如何新增資料
// AddPageToDatabase adds a new page with the provided field values to the specified Notion database.
func (n *NotionDB) AddPageToDatabase(Uid string, name string, title string, address string, email string, phoneNumber string) error {
client := notionapi.NewClient(notionapi.Token(n.Token))
// 建立 Properties 物件來設置頁面屬性
properties := notionapi.Properties{
"UID": notionapi.RichTextProperty{
RichText: []notionapi.RichText{
{
PlainText: name,
Text: ¬ionapi.Text{Content: Uid},
},
},
},
"Name": notionapi.TitleProperty{
Title: []notionapi.RichText{
{
PlainText: name,
Text: ¬ionapi.Text{Content: name},
},
},
},
// Address, Email, Phone Number....
}
// 創建一個新頁面的請求
pageRequest := ¬ionapi.PageCreateRequest{
Parent: notionapi.Parent{
DatabaseID: notionapi.DatabaseID(n.DatabaseID),
},
Properties: properties,
}
// 調用 Notion API 來創建新頁面
_, err := client.Page.Create(context.Background(), pageRequest)
if err != nil {
log.Println("Error creating page:", err)
return err
}
log.Println("Page added successfully:", Uid, name, title, address, email, phoneNumber)
return nil
}
- 大部分程式碼都是類似的,但是根據欄位不同。需要調整以下內容:
"UID": notionapi.RichTextProperty{
RichText: []notionapi.RichText{
{
PlainText: name,
Text: ¬ionapi.Text{Content: Uid},
},
},
},
- 其中的
name是固定參數,不能改。 -
只有後面的 Content:
Uid可以改。 - 此外,根據欄位不同
RichTextProperty也會變動。如果不正確,就無法正確地寫入資料。
最後測試範例程式碼:
func TestAddNotionDB(t *testing.T) {
	token := os.Getenv("NOTION_INTEGRATION_TOKEN")
	pageid := os.Getenv("NOTION_DB_PAGEID")

	// If not set token and pageid , skip this test
	if token == "" || pageid == "" {
		t.Skip("NOTION_INTEGRATION_TOKEN or NOTION_DB_PAGEID not set")
	}

	db := &NotionDB{
		DatabaseID: pageid,
		Token:      token,
	}

	err := db.AddPageToDatabase("uid", "name", "title", "address", "[email protected]", "phone")
	if err != nil {
		t.Fatal(err)
	}
}
參考資料:

